
Free Software Download Center
Software for industrial data collection, monitoring, and analysis.
EXISTING REPORT • REPORT PROPERTIES • CARD EDITING • SAVE REPORTS
This section explains step by step how to edit previously created reports and the cards (gauges, charts, tables, etc.) contained within those reports using the LIVE DASH Report Designer (ReportDesigner).
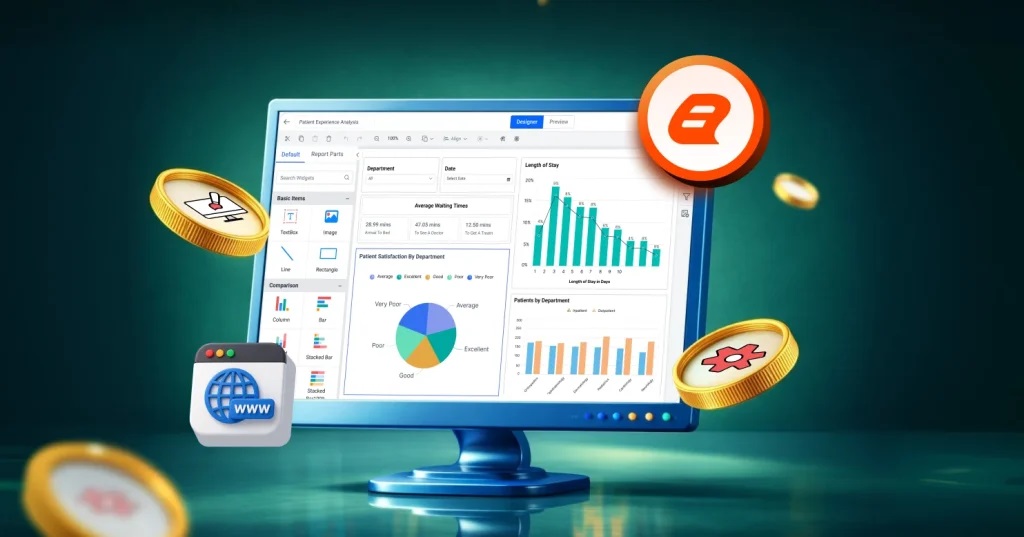
To modify a previously created report, the ReportDesigner application is first launched and the report to be edited is selected.
If required, the Report Group and Name Input Panel can be used to change the existing report's Report Group and Report Name.
In the Card Selection Panel, the section whose properties are to be edited is selected by clicking the numbered “sub-card” areas on the card.
The properties of the selected “sub-card” are displayed in the relevant panels. This allows work to be performed only on the specific card section that needs to be edited.
The properties of the selected card are edited using the method described in the previously explained “Steps for Creating a New Report” section.
At this stage, the card's data selection, appearance, and other defined properties can be reconfigured according to requirements.
After the editing process is completed, the report is saved by clicking the SAVE REPORTS button located in the New Report Addition, Storage and Report Reset Panel.
The updated version of the saved report will then be ready for use in the LIVE DASH WEB interface.
| Step | Operation |
|---|---|
| 1 | The ReportDesigner application is launched and the report is opened through the Report Selection Panel. |
| 2 | If required, the report information is changed through the Report Group and Name Input Panel. |
| 3 | The “sub-card” to be edited is selected through the Card Selection Panel. |
| 4 | The selected card's properties are edited according to the Steps for Creating a New Report. |
| 5 | The changes are saved by clicking the SAVE REPORTS button. |
| 6 | The newly saved report becomes ready for use in the LIVE DASH WEB interface. |
Free Software Download Center
Software for industrial data collection, monitoring, and analysis.
Technical Support
Software documentation, sample code, and practical technical information.
You can contact us regarding EOS software, technical documentation, or industrial data communication.