
Free Software Download Center
Software for industrial data collection, monitoring, and analysis.
ADDING DATA • DATA DEFINITION • COLID • EDITING DATA • DELETING DATA • LOGIN CONTROL
Data to be used in cards within the EOS Report Designer can be selected and added to a card through the Data Selection Panel. The definitions of added data can be edited when necessary, and data that is no longer used can be removed from the card's data list.
The most important rule in data operations is that the data definition must be stored in a specific format together with the definition number in the database: Data Definition = Database Definition Number (ColID).
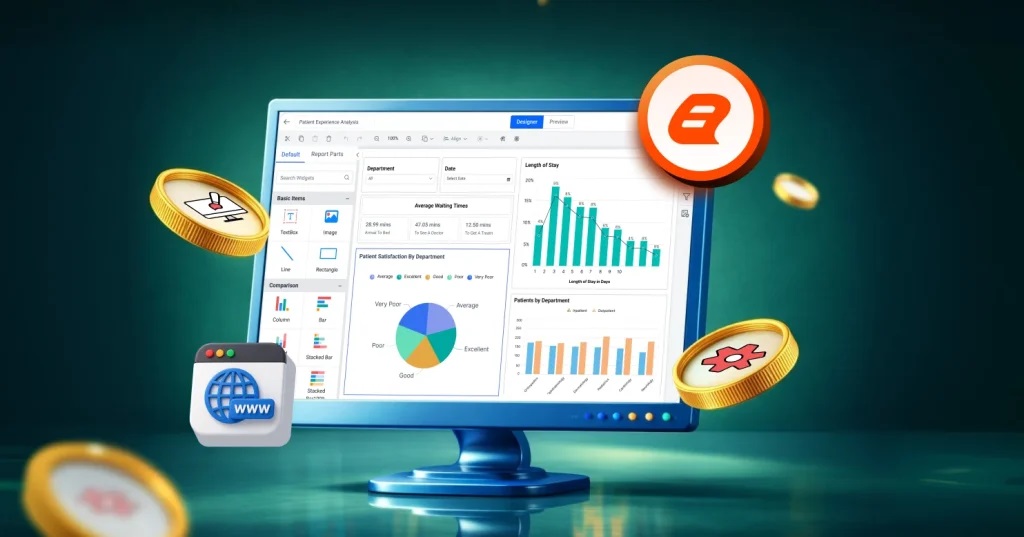
The user can click any data item listed in the Data Selection Panel to view detailed information about the data in the text box located below the list. After selecting the data to be examined, the selected data can be added to the active card's data list by using the ADD button located at the bottom of the panel.
Data Addition Logic: The record selected from the Data Selection Panel is transferred to the data list of the currently selected card by using the ADD button. This explicitly defines the data to be used in the card's chart.
The data addition process is performed according to the following format:
Data Definition = Database Definition Number (ColID)
Depending on the selected chart type, the user can add multiple data items. Each added data item is stored in the card's data list together with its own definition and the corresponding ColID value in the database.
Since the data definition is used in charts, the definition automatically generated by the software may sometimes be considered too long or unsuitable by the user. In such cases, the definition can be modified by the user.
The modification is performed in the quick edit area that opens by double-clicking the data added to the Card Settings. In the opened area, the definition portion before the (=) sign can be edited.
Example: If the data definition is uretim=55, the user can change the uretim portion to a definition appropriate for their reporting requirements; however, the =55 portion must be preserved.
The following data definition format must be preserved during editing:
Data Definition = Database Definition Number (ColID)
Example: uretim=55
Important Note: For the reporting system to operate correctly, the Data Definition = Database Definition Number (ColID) format must not be changed. The user should modify only the data definition before the equals sign.
Data that has been added to the card's data list and is no longer required can be deleted using the right mouse button.
Data deletion removes data that is no longer required from the report definition. This method can be used particularly to remove data that was added accidentally or is not required for the selected chart type.
Depending on the selected graph or chart type, some cards may not require data input. In particular, data selection is not required for ALARM-type charts.
Important Note: Data Selection applies only to SCADA-type charts. If data selection is not required for ALARM-type charts, unnecessary data should not be added to the card.
When the software detects unnecessary data input according to the selected card and chart type, it changes the background of the Data box in the Card Properties Selection Panel to RED.
In this case, any unnecessary data previously added to the card must be deleted. A red Data box indicates that the current card configuration contains an issue that needs to be resolved by the user.
The EOS Report Design Tool guides the user through the use of colors while entering card properties. This makes it possible to identify incorrect or incomplete settings before the report design is completed.
| Color | Meaning | User Action |
|---|---|---|
| RED | Indicates an incorrect or incomplete input. | The highlighted setting or data input must be corrected by the user. |
| GREEN | Indicates that the input is correct and complete. | The relevant setting is considered valid. |
Settings marked in red must be corrected by the user. A red warning is not merely visual information; it indicates that an incorrect or incomplete input exists in the relevant card property.
Inputs displayed in green indicate that the relevant card property is correct and complete. This allows the user to easily distinguish which fields have been completed and which fields need to be checked again.
The following sequence can be followed when creating and editing the card data list:
| Operation | Implementation | Important Consideration |
|---|---|---|
| Adding Data | Data is selected from the Data Selection Panel and added to the card using the ADD button. | The data must be added to the data list of the selected card. |
| Data Definition | The data definition is stored together with the ColID. | The Data Definition = Database Definition Number (ColID) format must be preserved. |
| Editing Data | The definition is edited through the quick edit area opened by double-clicking the data. | Only the definition before the "=" sign should be changed. |
| Deleting Data | Select Delete from the menu opened with the right mouse button on the data. | Unnecessary or incorrectly added data should be removed. |
| Data Requirement | Data selection is evaluated according to the chart type. | Data selection is not required for ALARM-type charts; data selection applies to SCADA-type charts. |
| Red | Warning for an incorrect, incomplete, or unnecessary input. | It must be corrected by the user. |
| Green | Indicates a correct and completed input. | Indicates that the relevant setting has been completed. |
Most Important Rule: The Data Definition = Database Definition Number (ColID) format must not be changed. For example, in unit1=21, the unit1 definition portion can be edited; however, the =21 ColID reference must be preserved.
Free Software Download Center
Software for industrial data collection, monitoring, and analysis.

Technical Support
Software documentation, sample code, and practical technical information.
You can contact us regarding EOS software, technical documentation, or industrial data communication.